How to Read a Woodworking Cut List (and Catch Mistakes Before You Cut)
Quick answer
A cut list gives each finished part's actual size as Thickness x Width x Length, with length running along the grain. Convert nominal lumber names to actual sizes (a 2x4 is 1-1/2 x 3-1/2 in), check that parts add up to the overall dimensions, and sketch a cutting diagram with kerf before you shop.
We may earn a commission from links on this page, at no extra cost to you. Disclosure
A cut list is the most useful page in any woodworking plan, and the easiest one to misread. One swapped number or one forgotten saw kerf can turn a $20 board into firewood. This guide walks through how to read a woodworking cut list line by line, then gives you a 7-point check to run on any plan before you buy lumber.
Nothing here requires a product. The worked example and the checklist are free to use on any plan, from a magazine, a library book, or a paid collection.
Cut list vs. materials list: two different jobs
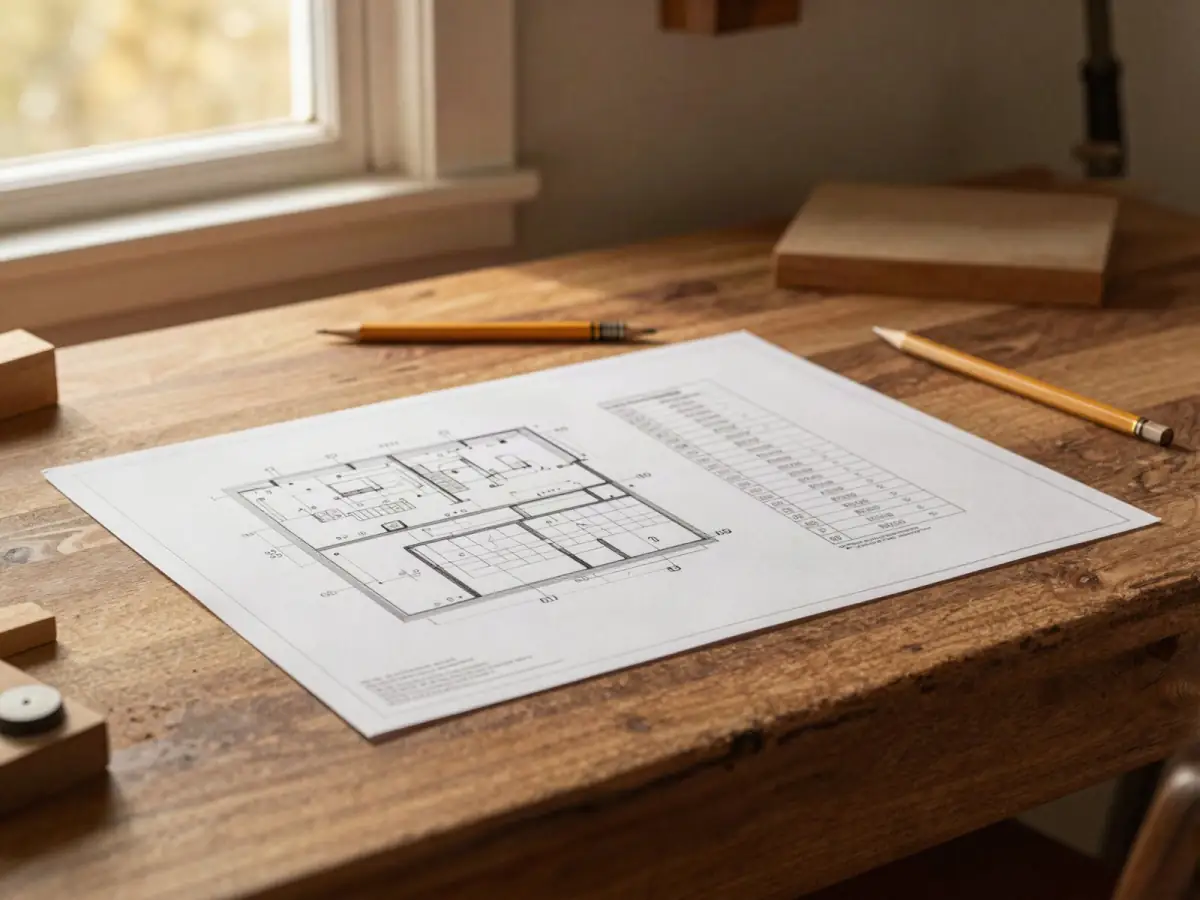
A materials list (sometimes called a shopping list or bill of materials) tells you what to buy: how many boards, of what size and length, plus screws, glue, and finish.
A cut list tells you what to make from those boards. Each line is one finished part, with its size, how many you need, and usually a letter or number that matches the drawing.
Good plans include both. If a plan only gives you a cut list, you have to work out the shopping list yourself, which is where most overbuying and underbuying happens.
Nominal vs. actual lumber sizes
This trips up nearly every beginner once. A "2x4" from the store is not 2 inches by 4 inches. It is about 1-1/2 by 3-1/2 inches. The name is the nominal size; the board was roughly that big before drying and planing.
Cut lists almost always give actual finished dimensions. Materials lists usually use nominal names, because that is what the store labels say. Here are the common softwood sizes in the US:
| Nominal (store label) | Actual size (inches) |
|---|---|
| 1x4 | 3/4 x 3-1/2 |
| 1x6 | 3/4 x 5-1/2 |
| 1x8 | 3/4 x 7-1/4 |
| 1x10 | 3/4 x 9-1/4 |
| 1x12 | 3/4 x 11-1/4 |
| 2x4 | 1-1/2 x 3-1/2 |
| 2x6 | 1-1/2 x 5-1/2 |
Length is the exception: an 8-foot board is usually at least 96 inches long, often a little more. Hardwood is sold differently, by thickness in quarters (4/4, 5/4, 8/4) and by the board foot, so check what your yard actually stocks before you plan around it.
Reading T x W x L, and why the order matters
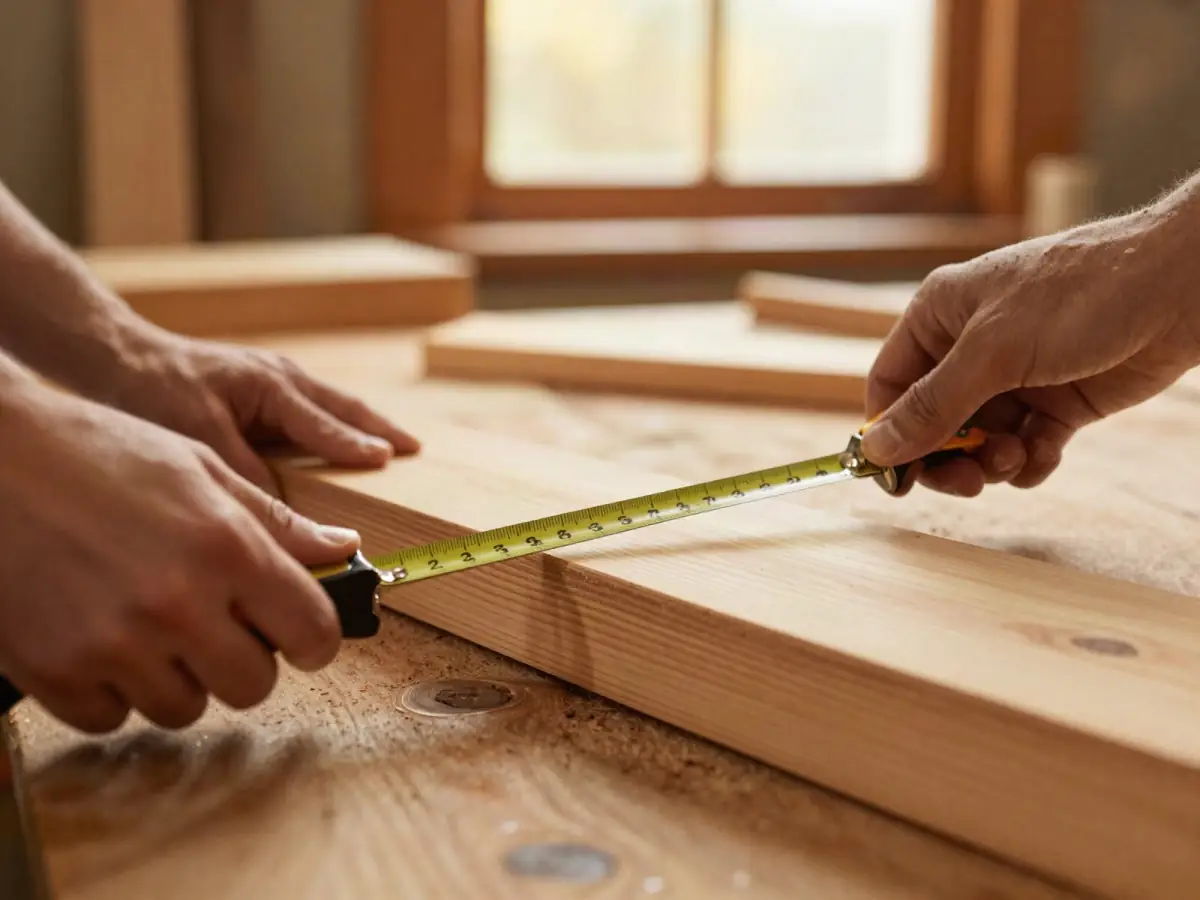
Most cut lists give dimensions as Thickness x Width x Length. A line reading 3/4 x 9-1/4 x 16 means a part 3/4 inch thick, 9-1/4 inches wide, and 16 inches long.
The convention that matters: length runs along the grain. Width runs across it. That holds even when the "length" is the smaller number.
Before you cut, find the plan's legend or a note that confirms the order. Some plans list L x W x T, and a few European plans use millimeters.
Grain direction: the line that is not on the list
Wood is strong along the grain and weak across it. A stool leg with grain running up and down carries weight well. The same leg cut with grain running sideways can split along a single growth ring the first time someone stands on it.
So if a part reads 3/4 x 9-1/4 x 8-1/4, the 8-1/4 inch dimension follows the grain, even though the part is wider than it is long. Mark a small arrow on each part in pencil as you lay it out, pointing along the grain. It takes two seconds and saves a lot of second-guessing at the saw.
The cut list tells you size. The arrow on the drawing tells you which way the wood should run. Read both.
Part letters vs. the drawing
Each cut list line usually has a letter (A, B, C) or a number. The same letter appears on the exploded drawing, showing where that part goes. Use the letters as your link between the two.
When the list and the drawing disagree, the drawing's dimensions usually reflect the designer's intent, but do not guess. Check a third reference, like an overall dimension, and do the math. Write the letter on every part as soon as you cut it, on a face that will be hidden later.
Paid link · opens the vendor's sales page.
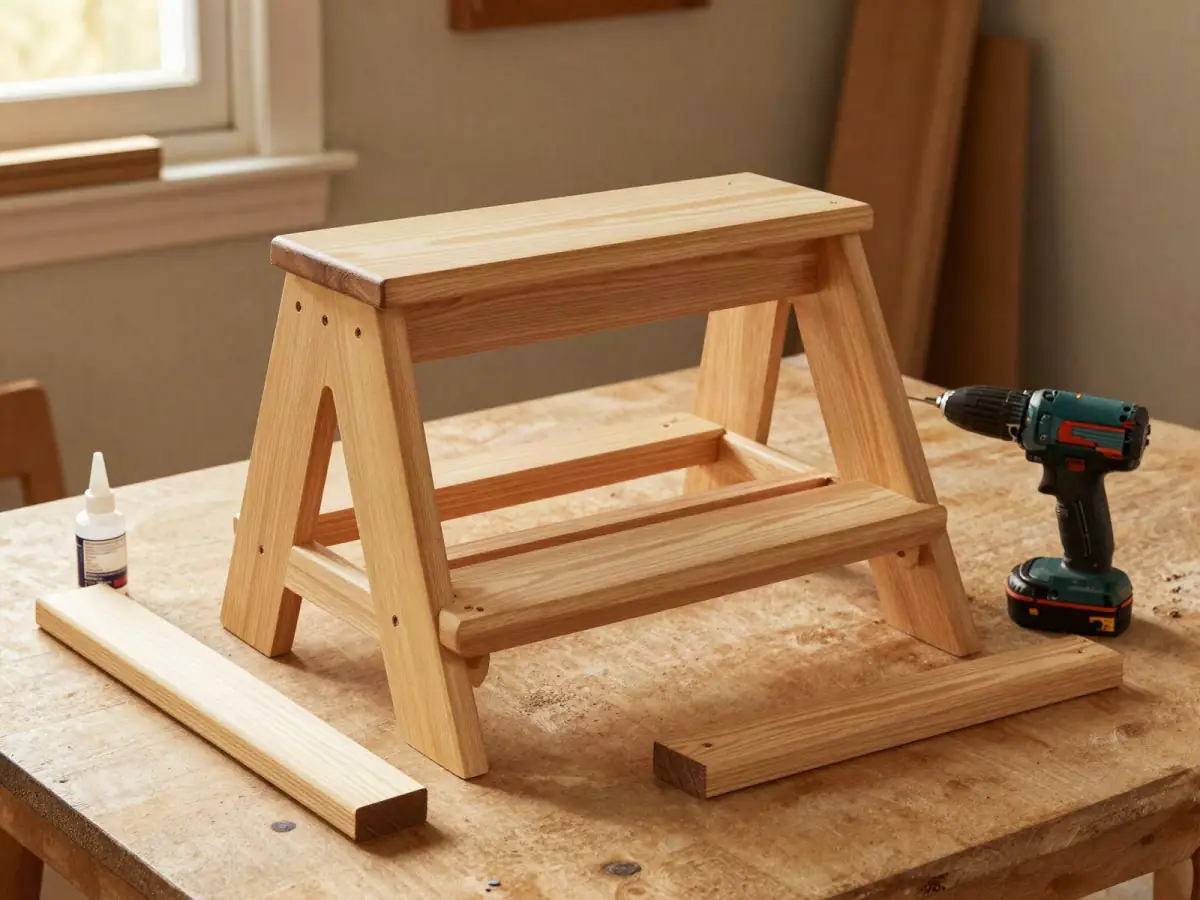
Worked example: a simple step stool
Here is a small stool built from pine you can find at any home center. Overall size: 16 inches long, 9-1/4 inches deep, 9 inches tall. The top sits on two solid side legs, set in 1-1/2 inches from each end, with two stretchers between the legs.
| Part | Name | Qty | T x W x L (inches) | Cut from |
|---|---|---|---|---|
| A | Top | 1 | 3/4 x 9-1/4 x 16 | 1x10 |
| B | Legs (sides) | 2 | 3/4 x 9-1/4 x 8-1/4 | 1x10 |
| C | Stretchers | 2 | 3/4 x 3-1/2 x 11-1/2 | 1x4 |
Now check that the numbers agree with each other, which is the whole point of reading a cut list carefully:
- Height: leg 8-1/4 + top 3/4 = 9 inches. Matches the overall height.
- Leg spacing: top 16 minus 1-1/2 inset on each end = 13 inches, outside face to outside face.
- Stretcher length: 13 minus two leg thicknesses (3/4 + 3/4) = 11-1/2 inches. Matches part C.
- Depth: top and legs are both 9-1/4, the actual width of a 1x10, so no ripping is needed.
The materials list that follows from this: one 1x10 at least 4 feet long, one 1x4 at least 3 feet long, 1-1/4 inch wood screws, and wood glue. Grain on the legs runs vertically, along the 8-1/4 inch dimension.
Planning cuts on your boards
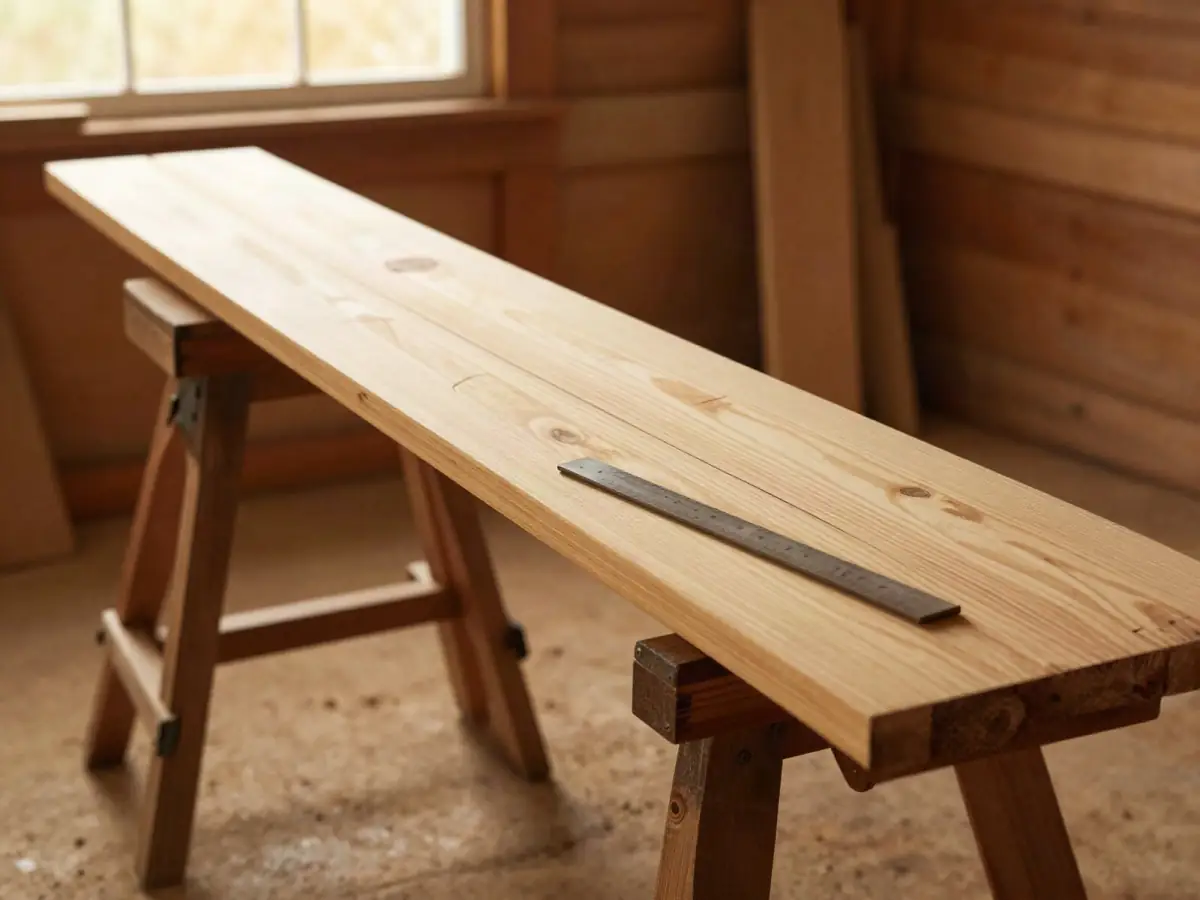
A cutting diagram is a simple sketch of each store board with your parts drawn on it, end to end. It shows how many boards you need and where the waste falls.
For the stool's 1x10, the parts add up to 16 + 8-1/4 + 8-1/4 = 32-1/2 inches. Add about 1/8 inch per saw cut for the blade's kerf (three cuts is roughly 3/8 inch) and an inch to square up a rough factory end. That is about 34 inches, so a 4-foot board leaves around 14 inches of offcut.
The 1x4 is the trap. Two stretchers total 23 inches, so a 2-foot board looks like it works. Add a kerf and a squared end and you are short. Buy the 3-foot piece.
A few habits that keep waste down:
- Cut the longest parts first, then fit short parts into what is left.
- Lay out around knots, cracks, and the split ends that boards often have.
- Sketch the diagram on paper before you go shopping, not at the saw.
The 7-point check before you buy lumber
Run any plan through this list. It takes ten minutes, and it is the cheapest woodworking you will ever do.
- Units and order. Inches or millimeters? T x W x L or another order?
- Actual vs. nominal. Do the cut list widths match real board sizes, like 3-1/2 or 5-1/2?
- Part count. Count the parts on the drawing and compare with the quantities on the list.
- Stack-up math. Add parts that stack (legs plus top) and compare with overall dimensions.
- Between-part math. Parts that fit between others should equal the gap minus the thicknesses, as with part C above.
- Joinery allowances. If parts use tenons or dadoes, check that the extra length for the joint is included.
- Cutting diagram. Sketch it with kerf and trim, then confirm the materials list buys enough.
Common cut list errors
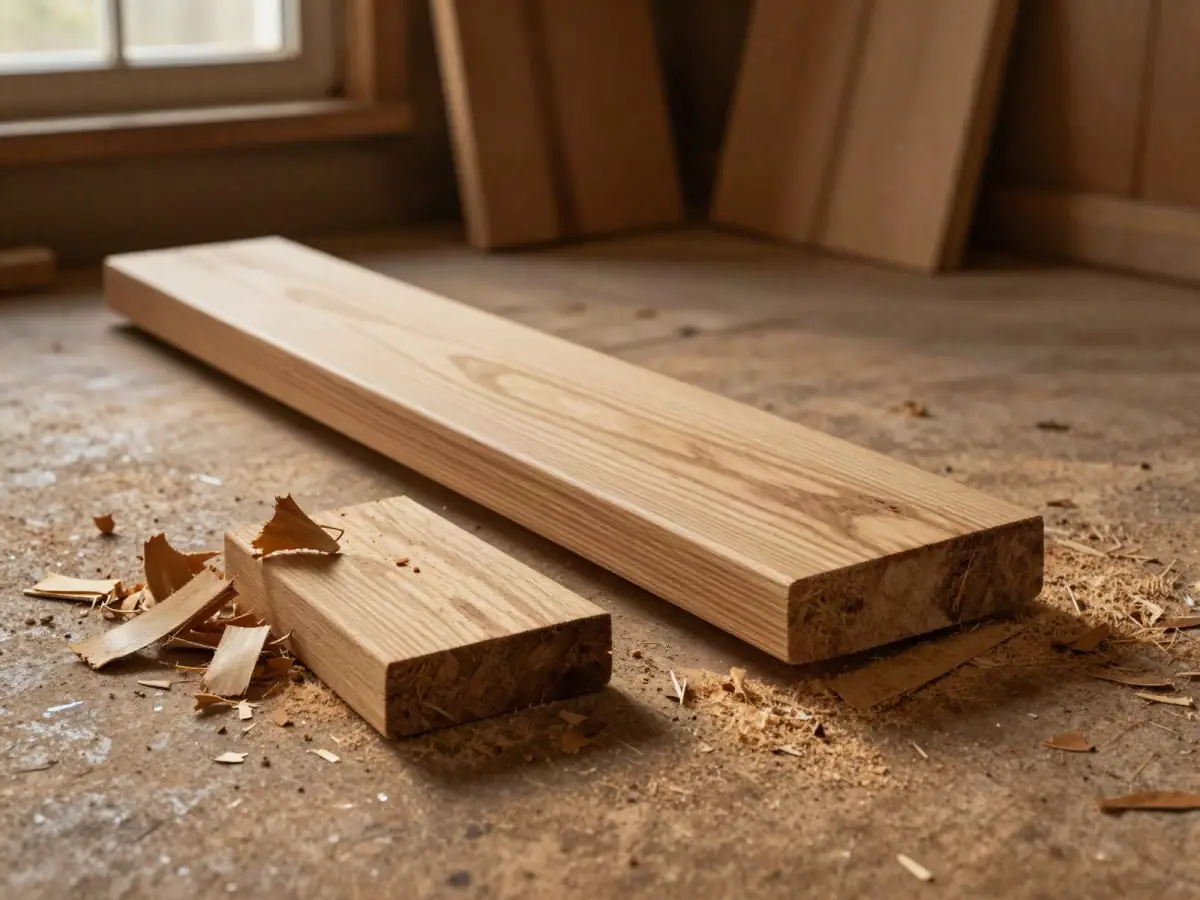
Nominal sizes in the cut list. A part listed as "2 x 4 x 30" may mean a 30-inch piece of 2x4, or it may be a typo for 1-1/2 x 3-1/2. Check against the drawing.
Missing joinery length. A rail that needs a 1-inch tenon on each end must be cut 2 inches longer than the gap it spans. Some plans forget this.
Changed design, old list. A plan gets revised and the drawing updates but the list does not. Stack-up math catches this.
Thickness assumptions. A plan written for 3/4-inch plywood will be off if your sheet measures 23/32, which is common. Measure your stock and adjust parts that fit between panels.
No cut list at all. Some plans give only a drawing. You can still build from it, but you will need to write your own list and run every check above.
For more on why small dimension mistakes lead to wobbly results, see why woodworking projects fall apart.
If you want a big library of plans with cut lists
Once you can read and check a cut list, a large plan library becomes more useful, because you can spot and fix the gaps yourself. Ted's Woodworking is one such collection. The sales page states it includes 16,000+ plans for a $67 one-time price, delivered as PDFs in a members area, as we checked on Oct 9, 2026. A 2014 forum count on UKWorkshop found around 2,500 distinct plans, so treat the headline number with care.
An honest note: buyers report that some plans lack complete cut lists or materials lists. That fits what you would expect from a very large, mixed collection. Run the 7-point check on any plan from it, just as you would with a free one.
If you would rather compare first, see Ted's Woodworking vs. free plans or our full Ted's review hub. Beginners may also want workbench plans for beginners.
Paid link · opens the vendor's sales page.
refund
The sales page advertises a 60-day money-back guarantee. Refunds are handled through ClickBank, the retailer, at clkbank.com. Optional add-ons at checkout and offers after purchase are separate charges, so read each screen before you click. Details in our refund guide.
The short version
Read the units and the order, convert nominal to actual, follow the grain, match letters to the drawing, and do the math before you shop. Those five habits catch most cut list mistakes on any plan, free or paid.
Paid link · opens the vendor's sales page.
Frequently asked questions
What is the difference between a cut list and a materials list?
A materials list tells you what to buy, such as boards by nominal size and length, screws, and glue. A cut list tells you each finished part to cut from those boards, with its actual dimensions, quantity, and a part letter that matches the drawing.
Why is a 2x4 not 2 inches by 4 inches?
2x4 is the nominal size, roughly the size before drying and planing. The actual size is about 1-1/2 x 3-1/2 inches. Cut lists usually give actual sizes, while store labels and materials lists use nominal names.
What order are cut list dimensions written in?
Most plans use Thickness x Width x Length, with length running along the grain. Some plans use a different order or millimeters, so check the plan's legend before cutting.
How much extra lumber should I buy for saw kerf?
Allow about 1/8 inch per cut for a typical saw blade, plus about an inch to square up a rough board end. Then round up to the next stock length rather than buying a board that matches your total exactly.
Do all plans in large plan collections include cut lists?
Not always. Buyers report that some plans in large collections such as Ted's Woodworking lack complete cut lists or materials lists, so run your own check on each plan before buying lumber.
Our research on the products mentioned
More from the blog
Best Woodworking Plan Libraries in 2026: 5 Options Compared
Ted's Woodworking, My Shed Plans, Ana White, Woodsmith Plans and Kreg plans compared on price, format, refunds and beginner-friendliness (Oct 2026).
Is Ted's Woodworking Worth It in 2026? An Honest Buyer's Guide
Is Ted's Woodworking worth it? The real $67 cost, every optional upsell, cost-per-plan math, 6 objections answered, and a 30-minute refund-window test.
Ted's Woodworking vs Woodsmith Plans: Which Fits You?
Ted's Woodworking ($67 one-time bundle) vs Woodsmith Plans ($7.95+ per plan or $59.95/yr): price, plan depth, refunds, and beginner fit compared.